
Let me start off by saying my daughter and my job are my inspiration for this project. I LOVE jewelry! Especially shiny jewelry, but with a small child and my job, sometimes it isn't always the best! I work in a classroom with k-2 children. I don't want expensive jewelry broken and sometimes children get a tad rough while looking at your jewelry by pulling on it. Well, these pendents I have been working on are LIGHT WEIGHT (as a lot of jewelry is too heavy), INEXPENSIVE, COLORFUL, AND FUN!
I started by cutting the sides out of a milk jug. Next, I drew some shapes on the plastic. I used circles just because I traced washers. Cut out the shapes you chose to draw. I drilled holes in each circle for the jump rings.

Then, I just applied mod podge and glued on fabric or paper. (I had cut a bunch of pictures and patterns out of magazines the past few months and made magnets the same way!)

Let the mod podge dry about 10 mins, and trim the edges. Now I do have to tell you. I forgot to drill holes for jump rings in a few of the pieces before I glued fabric. When I went back to drill the holes, The fabric twisted and came off. I had to re-glue and punch a hole with a nail in the fabric. I mod podged all of the circles again, and could drill through the pieces of shapes that I did with paper.

I found a couple of thick plastic pieces one day when Elle and I were out on a walk. I thought these would be kinda cool to make a pendent. People wear huge necklaces all the time and look great!
I spray painted one with a metallic paint.

I chose this vintage looking paper for the other.


I traced the shape on a piece of red paper out of a magazine. Chopped out some sayings. I mod podged the shape, stuck the paper on, and let it dry. Next, I podged over the red paper and stuck down the words.

And then podged over the words. I am looking for the right sparkling butterfly sticker and a lady bug to add to this side. I forgot to mention that I have been doing all the pieces double sided. Therefore, you get 2 in 1!

This is about a 1.5x3 piece of wood I found on one of our walks. I also painted one side of this with the metallic paint. Then drilled the hole for a jump ring. I kinda liked this piece for something a bit natural.

Here is one side of alot of the pieces I did. Some of the more squared up pieces are cut up gift cards.

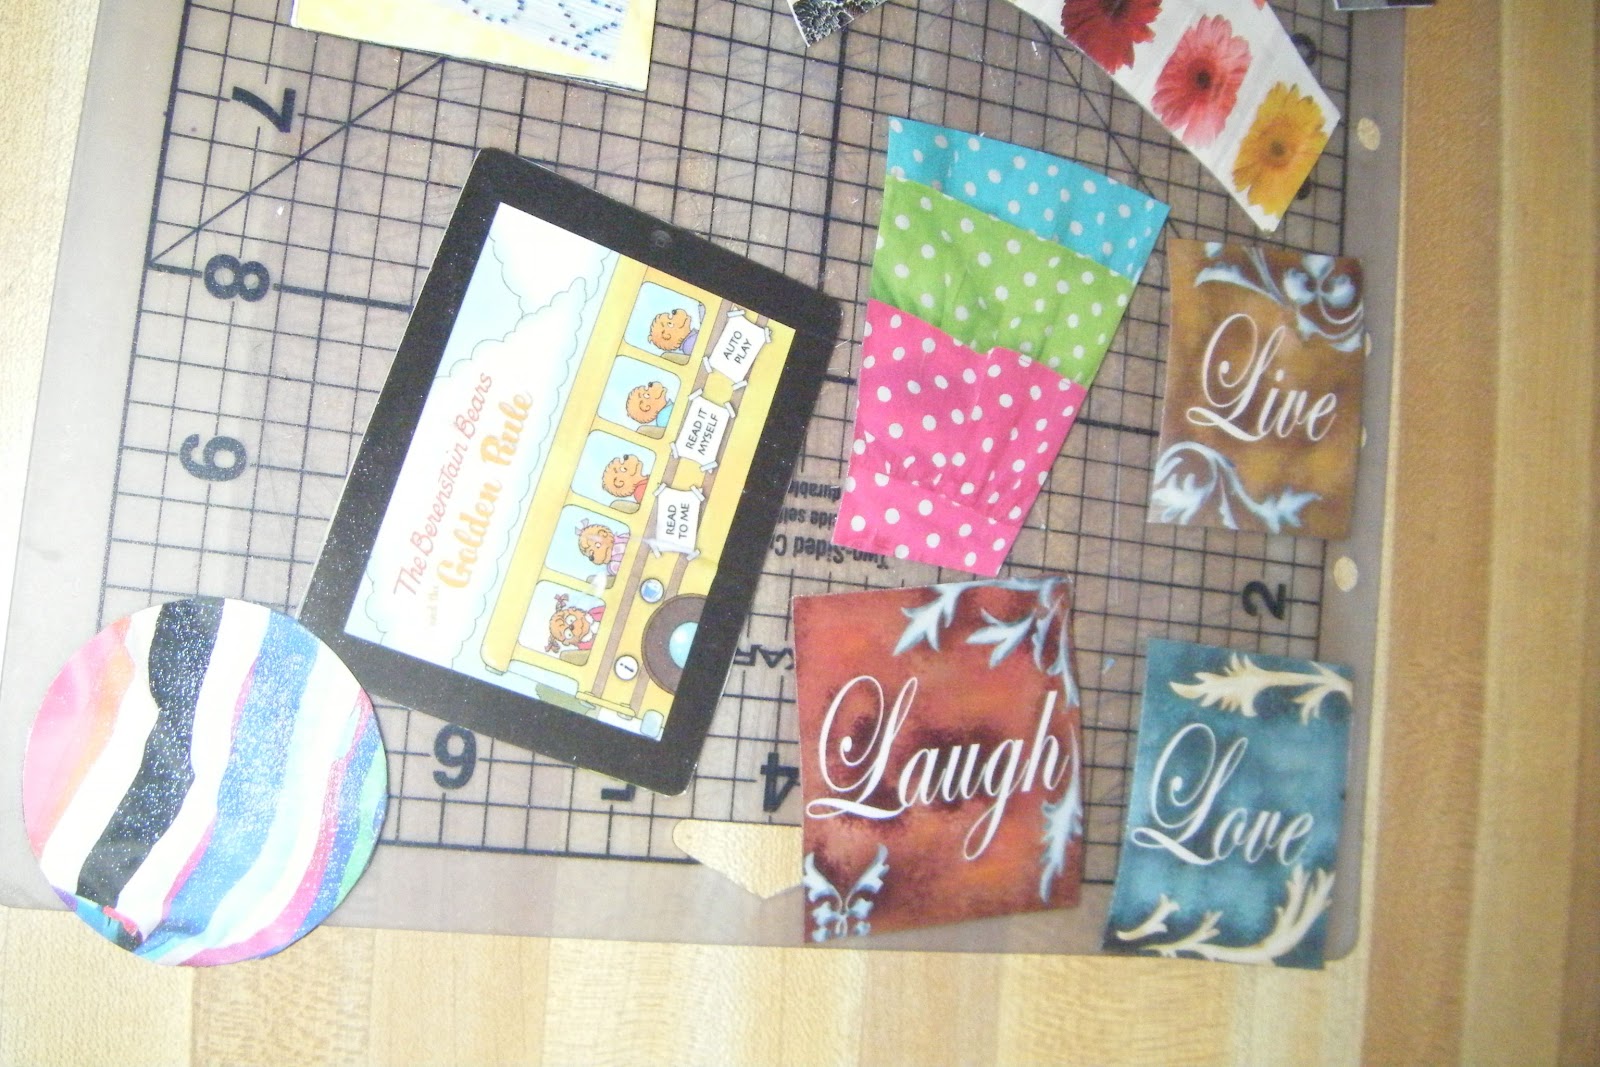

A few close ups. I did not get all the bubbles out of this one because I drilled on one side and went to put pics on the opposite side. I did not think about where the plastic had pushed through from drilling. I should have sanded down the holes. (I love some Mercer Mayer!) I thought this one would be fun for work. Also these are very light weight so when Elle is a couple years older she will have necklaces also that she can wear.

Our class does a whole week of Dr. Seuss to celebrate his birthday!

This one is a bit big for me but will still be fun. This is about 3x4 maybe.

I can't wait to chop up more magazines! There are so many prints to use. Someones skirt and picture from flowers! Unlimited possibilities!
No comments:
Post a Comment